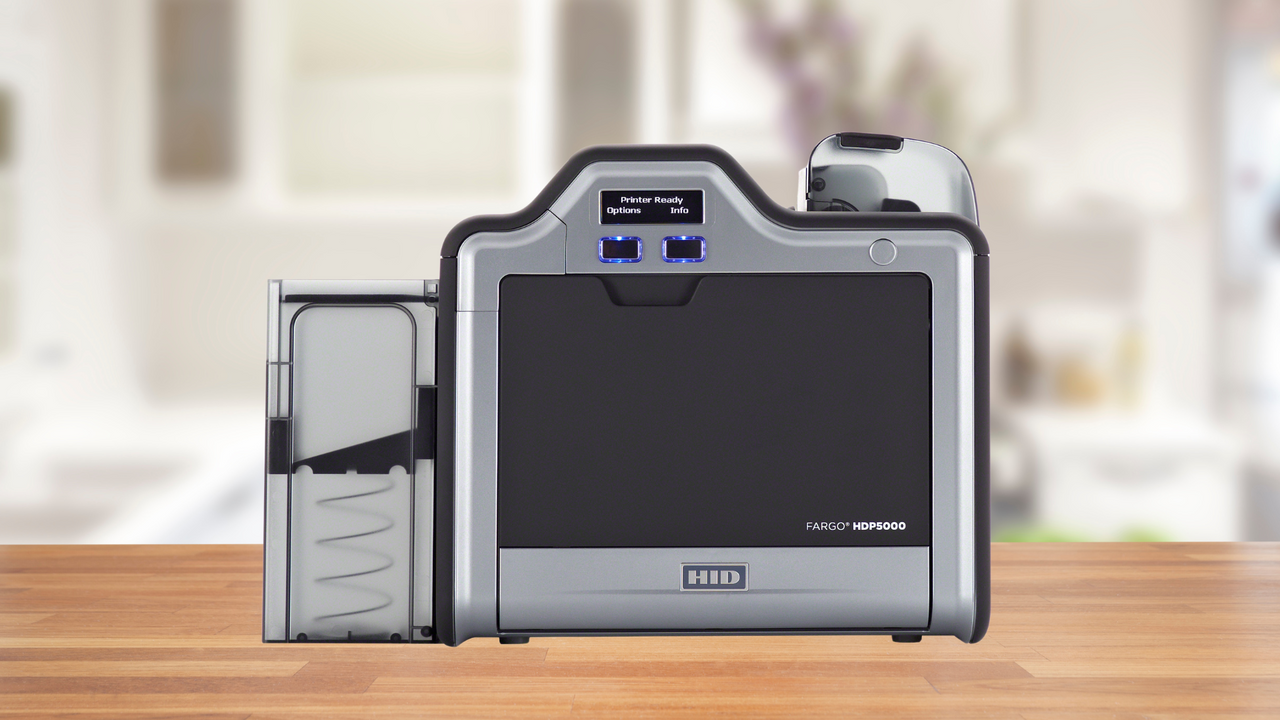
ID printer ribbons are essential for creating crisp, professional identification cards. However, when the ribbon breaks, it can halt your production process. Understanding how to fix this issue can save valuable time and keep your operations running smoothly. Here’s a comprehensive guide on repairing a damaged ID printer ribbon:
1. Diagnose the Problem
If your ID printer is malfunctioning, with visible streaks or gaps in the print, the ribbon might be broken or misaligned. Begin by opening the printer and carefully inspecting the ribbon cartridge to determine the cause of the problem.
2. Safely Remove the Ribbon Cartridge
Following your printer's manual, unlock and open the printer lid or cover to access the ribbon cartridge. Handle the cartridge with care to avoid causing additional damage to the ribbon.
3. Examine the Ribbon for Damage
Look for any tears, creases, or jams in the ribbon. If the ribbon is torn, carefully remove the damaged section. If the ribbon is tangled, gently untwist it to ensure it can move smoothly during printing.
4. Repair the Ribbon Using Tape
Trim the Tape: If necessary, trim any excess tape that extends beyond the ribbon’s width to prevent it from obstructing the printer.
Align the Ribbon Ends: Bring the two ends of the broken ribbon together, ensuring they are perfectly aligned for a seamless repair.
Apply the Tape: Use a small piece of clear tape to join the two ends. Press the tape firmly to ensure it holds the ribbon securely without causing additional issues during printing.
5. Test the Repair
Once the ribbon is rethreaded, close the printer cover and power on the machine. Perform a test print to check if the repair was successful. Use the printer’s diagnostic tools or software to ensure the ribbon is functioning correctly and producing quality prints.
6. Replace the Ribbon if Necessary
If the ribbon is severely damaged or the repair does not hold, it may be time to replace the ribbon with a new one. Ensure you choose a ribbon that is compatible with your printer model, following the manufacturer’s guidelines for installation.
7. Perform Routine Maintenance
Regular maintenance of your ID printer can help prevent ribbon damage in the future. Clean the printer’s interior, particularly the ribbon path, to remove any dust or debris that could lead to jams or tears. Adhere to the manufacturer’s recommended maintenance schedule to keep your printer in top condition.
8. Inspect Blank Cards for Debris
Before printing, check your blank cards for any debris. If you use a slot punch, do so after printing to avoid creating burrs that could tear the ribbon. This small step can prevent unnecessary damage and extend the life of your ribbon.
9. Avoid Printing Near the Card’s Edge
With direct-to-card (dye-sublimation) printers, printing too close to the edge can cause the ribbon to snap. Retransfer printers are designed for edge-to-edge printing, so it’s best to leave a small unprinted border or resize your design to prevent ribbon damage.
10. Regular Cleaning and Calibration
To maintain optimal performance, clean your printer regularly and calibrate the ribbon sensor. Cleaning kits specifically designed for your printer model can be found on our Card Printer Supplies page. For ribbon sensor calibration, follow the instructions in your printer’s user manual after removing the ribbon.
Contact us today
Knowing how to repair a damaged ID printer ribbon is key to maintaining continuous card production. By properly diagnosing the issue, repairing the ribbon, and adhering to a regular maintenance schedule, you can keep your printer running smoothly and avoid costly downtime.
Ensure your ID card production remains uninterrupted by taking proactive steps in ribbon maintenance and repair. For more advanced troubleshooting or professional help, contact us today for expert assistance.


