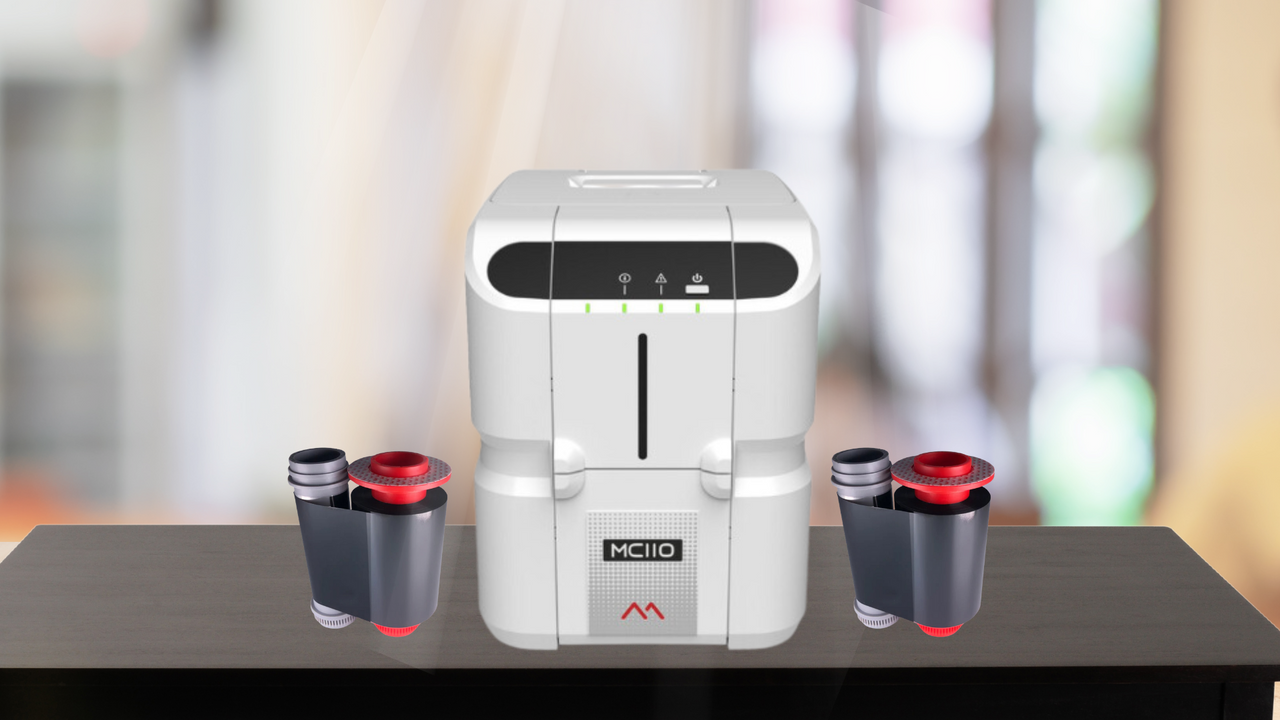
The Matica MC110 ID card printer is a reliable and efficient solution for printing high-quality ID cards. To ensure optimal performance, it is essential to replace the printer ribbon correctly when it runs out. Follow this step-by-step guide to change the ribbon on your Matica MC110 printer.
Step 1: Power Up the Printer
Before changing the ribbon, ensure that your printer is properly powered up.
-
Connect the power supply cord to the supply block.
-
Connect the AC power supply to the back of the printer.
-
Press the power button on the front of the printer to turn it on.
Step 2: Open the Printer Cover
-
Locate the handle on the top cover of the printer.
-
Gently pull back the handle to open the top cover and access the ribbon compartment.
Step 3: Identify the Ribbon Guide Channels
Inside the printer, you will notice designated ribbon guide channels:
-
The grey channel corresponds to the grey reel of the ribbon.
-
The red channel corresponds to the red reel of the ribbon.
Step 4: Insert the Ribbon
-
Take your new ribbon and observe the color-coded reels.
-
Insert the red reel into the red channel.
-
Insert the grey reel into the grey channel.
-
Ensure that the ribbon is correctly aligned and securely placed.
Step 5: Close the Printer Cover
-
Once the ribbon is properly installed, gently close the top cover.
-
Make sure the cover clicks into place to ensure it is securely shut.
Step 6: Confirm Ribbon Installation
-
Turn on the printer (if not already powered on).
-
Run a test print or check the printer's display panel to verify that the ribbon has been successfully recognized.
By following these steps, you can efficiently replace the ribbon on your Matica MC110 ID card printer and ensure smooth operation. Regular maintenance and correct ribbon installation will help maintain the printer’s performance and extend its lifespan.
If you have any questions or need assistance with changing the ribbon on your Matica MC110, contact us today. We're here to help!


